There is a quiet moment near the end of every collection where I already know what comes next.
Not because I rushed ahead, but because inspiration tends to arrive before I have finished stewarding what is already in my hands. A colour combination caught in the morning light. A scripture that keeps returning to mind. A walk through the garden where something small stops me completely.
I have learned to write these things down and hold them lightly until it is time.
That is where every collection begins — long before a single motif is drawn.
Step One: Finding the Story
For Creative Faith Studio, I always return to the same source: Creation itself.
Every collection I design carries an intention to make God visible in the world in a beautiful, new way. So when I am gathering ideas, I am not chasing trends. I am paying attention — to scripture, to the natural world, to experiences that carry weight or beauty or quiet meaning.
Sometimes a collection begins with a single word. Sometimes a sunrise. Sometimes a story I want to tell through pattern and colour before I know exactly how it will unfold.
I keep a running list of possible themes as I move through my days. Some of these ideas wait months before their season arrives. Others feel urgent and move quickly. The discipline I have built around this is simple: I try to finish what is already in front of me before beginning something new. An unfinished project sitting in the background is not just incomplete work — it takes up creative space that could be better used. If a project is truly not worth finishing, I move it completely out of the way rather than letting it linger. Good stewardship of creative ideas means giving them either your focused attention or your gracious release.
Step Two: Planning the Collection Structure
Once I have a theme, I decide on the size and shape of the collection before I draw anything.
For most of my work, I love designing in mini-collections: one hero pattern that carries the story, one coordinate that brings contrast and depth, and one blender that grounds the whole collection. A focused week of creative attention can bring a mini-collection to life — and it can later be expanded into multiple colourways for different applications.
For a larger quilting collection, I plan differently. I map out roughly eight to ten patterns across the full range — one hero, one secondary, two to three coordinates, and three to four blenders — built across two to three colourways to create variety in contrast and scale. But even then, I work in the same rhythm: one hero, one coordinate, one blender at a time, building the larger collection slowly and steadily until everything comes together.
The end use also shapes the planning. A wallpaper collection needs generous breathing room, calmer rhythm, and motifs with space around them. A stationery collection can carry more density and layered detail. A quilting collection requires careful thought about tonal value, scale variation, and how many patterns will eventually live side by side in a finished quilt. If you are designing for print-on-demand platforms like Spoonflower or Society6, it is worth printing physical samples early — each platform configures colour differently, and what looks right on screen does not always translate as expected to the printed product.
I have found it most helpful to know my end use from the beginning. It focuses the story and saves significant time in the designing phase. That said, there is also real creative freedom in designing what you feel called to create first and finding the right application afterward. Both approaches are valid — and different projects may call for different rhythms.
Step Three: Building the Moodboard
With a theme and a structure in place, I begin gathering.
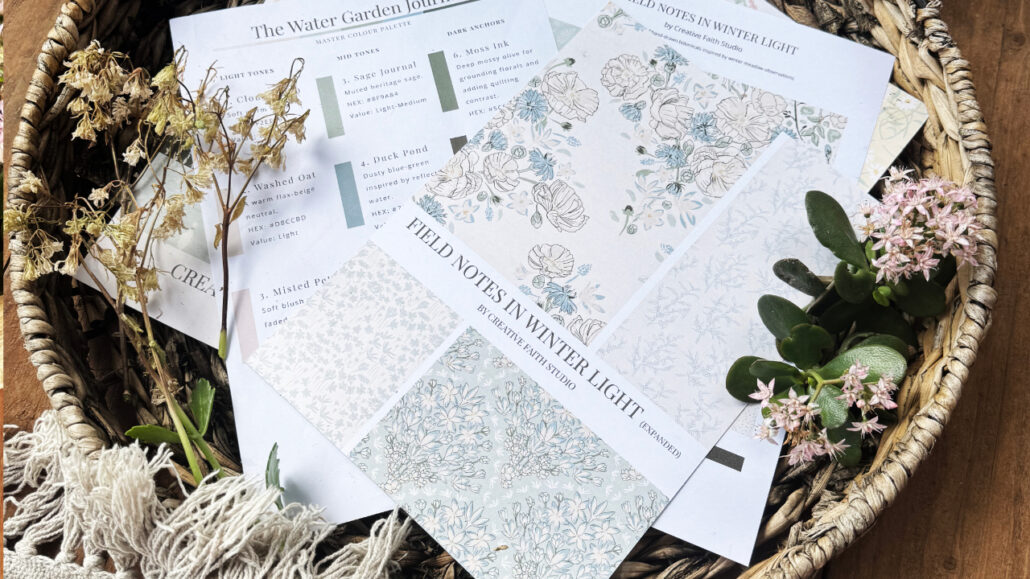
I start with words — both physical and emotional. For a blueberry collection, for example, I would list the visual elements I could draw: berries, branches, leaves, stems. And alongside those, the feeling words: moody, calm, heirloom, quiet. These word lists become my creative compass throughout the entire process.
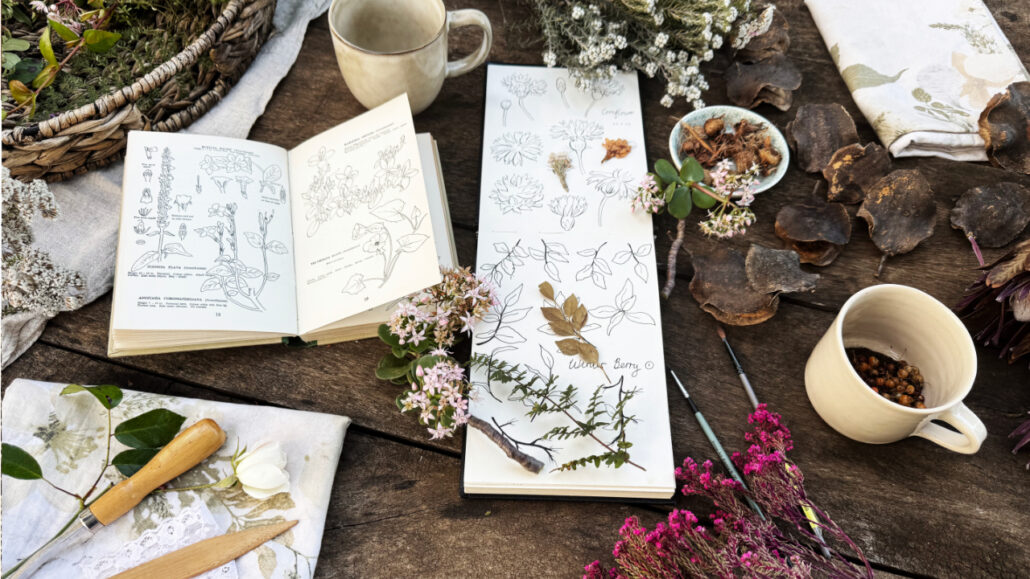
Then I gather images. Where possible, I go directly to the real thing — finding the flowers, leaves, or natural elements in person and photographing them myself. I also draw from my own growing library of reference images taken over the years. When I need more, I look to Flickr Commons or the Biodiversity Heritage Library for beautiful, freely available reference.
All of these images come together on a moodboard — sometimes a Pinterest board for easy access anywhere, sometimes printed pages kept beside me when I draw. For a larger project I might build a physical inspiration board with paint card colour references, fabric swatches for texture, and printed images pinned together. For a mini-collection, something simpler and quicker serves just as well. The effort you invest in your moodboard should always balance with the scale of the project.

Step Four: Developing the Colour Palette
Colour took me time to get right — and I had to create some gentle boundaries for myself before it started feeling clear.
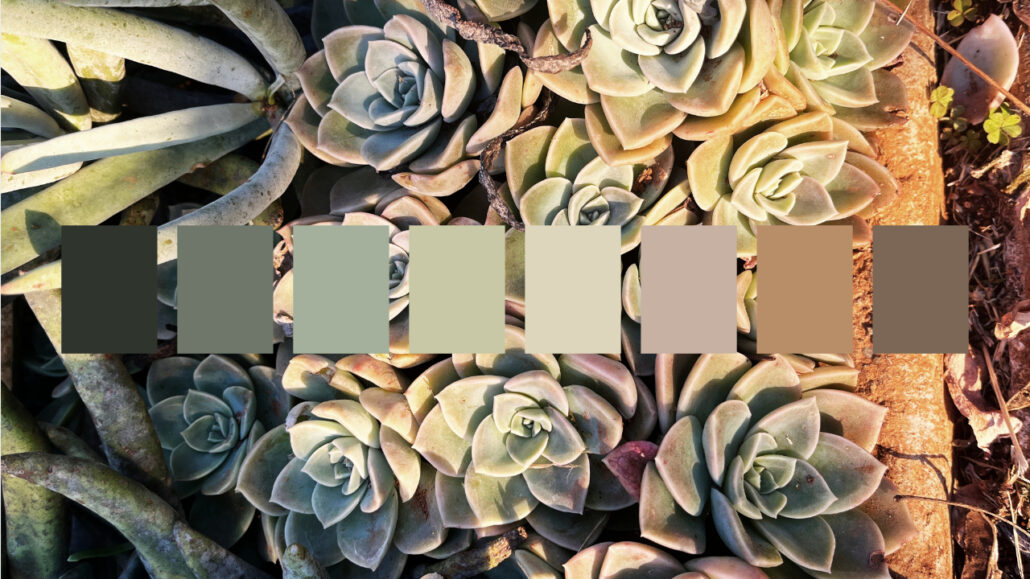
I now begin with a photograph that catches my attention purely because of the way its colours work together. From that image I pull two to three main colours, then find a light, medium, and dark tonal value for each. I add one or two neutrals for balance and harmony. That palette becomes the language of the entire collection.
If I have a specific end use in mind, I let it guide the palette mood. A bedroom wallpaper calls for something warm and light in tonal value — calm rather than energising. But if I am creating freely and finding the application afterward, I follow where I feel led and let the palette emerge from the story itself.
Step Five: Thumbnails, Motifs, and Building
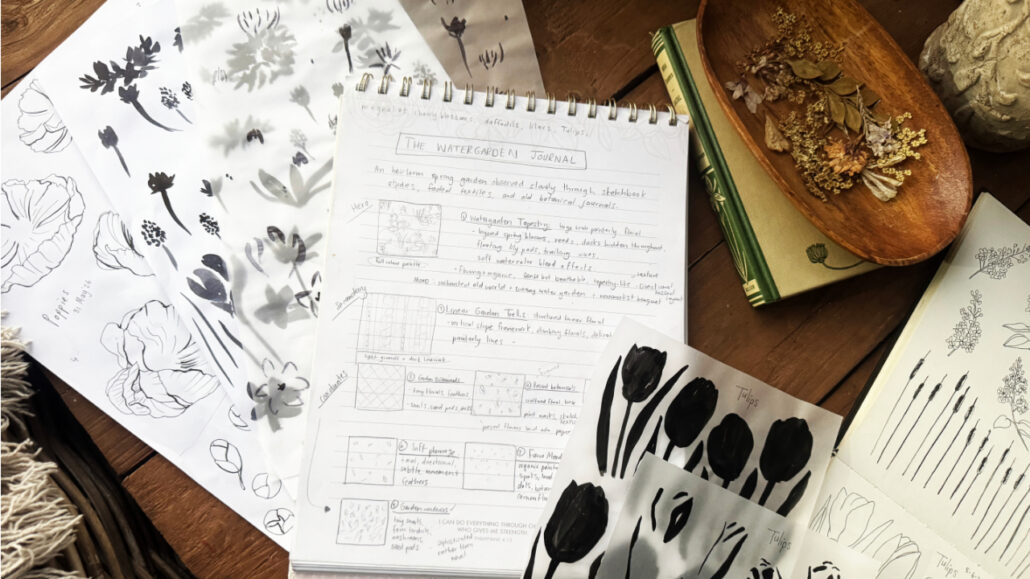
Before I draw a single finished motif, I sketch thumbnails — small, rough, fast. Their purpose is not beauty. Their purpose is to check that there is enough variety in direction, flow, scale, and rhythm across the collection.
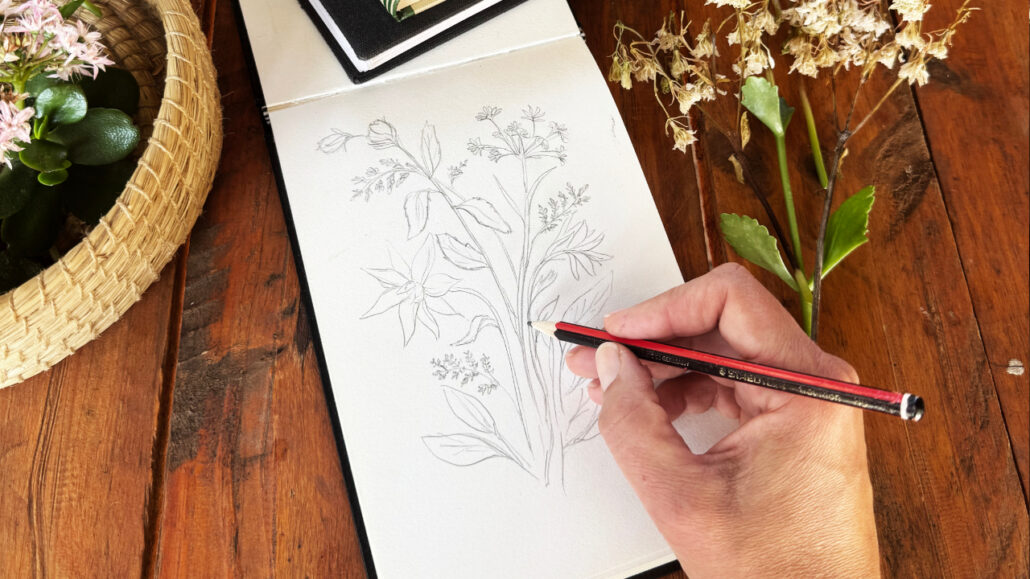
From there, I move to creating motifs in pencil, then pen and ink. I always create more motifs than I will need, so that when it comes time to build each pattern I have real options to choose from. A short list guides me for each pattern, but the extras give me creative flexibility.
I have built my creative business around my life, not the other way around. So I often draw while waiting for my children at afternoon activities, or in quiet moments over weekends. The digitising and vectorising happens during focused time blocks during the week. This rhythm — analogue drawing woven through ordinary life, digital work in dedicated time — means the collection builds steadily even across a full and varied season.
By the time all motifs are created and digitised, I move into colour and pattern building. I usually start with a coordinate or blender to get a feel for the collection’s direction, then build toward the hero. But this is not a fixed rule — sometimes the hero arrives first and leads the way.
A Faith-Rooted Takeaway
Commit your work to the Lord, and your plans will be established. — Proverbs 16:3
Planning is not the opposite of faith. It is an act of stewardship.
When we take time to think carefully about what we are making and why, we create space for God to work through us. A friend of mine creates beautiful glass-blown sculptures, and she told me recently that people have stood before her work and wept — experiencing something of God’s presence through what her hands had made. That is what becomes possible when we offer our creativity back to its Source.
Your planning phase is not just logistical. It is an invitation. An act of preparation that says: I want to create something worthy of the gift I have been given.
Start with the story He has placed in you. Plan with intention. Build faithfully, one small step at a time.
Want to Keep Reading?
If this article opened up new questions, here are a few places to go next:
- For the bigger picture on why collections work the way they do, start with the cornerstone: Collection Building — The Art of Creating Cohesive Pattern Collections
- Ready to tackle colour with more confidence? Read How to Choose a Colour Palette for a Pattern Collection
Ready to Go Deeper?
If this resonated and you want to keep growing as a surface pattern designer, I would love to have you in the Abundance community — where I share design insight, entrepreneurship encouragement, and biblical inspiration to support your creative business. Join us and receive the next letter directly in your inbox.
And if you are ready to take your first real steps in building a surface pattern collection alongside other like-minded women, the Rooted Creative Circle may be exactly where you belong. Come and grow with us.